Monday, September 23, 2013

Fall is in the air, even in Texas

I've been painting pumpkins and making garlands

And painting more pumpkins!
Pumpkin overload.  And we are only a few days into Fall.  :)

Have you seen this?  I've had more fun with Jenn Rizzo's hot to paint a pumpkin tutorial.  Now I have assorted white pumpkin paintings all over the house.  As you can see by the above.

Even if you don't think you can paint, trust me, you can.  Super EASY tutorial that will have you churning out pumpkins in no time flat.  

Dallas Arboretum Pumpkin Village


Dallas Arboretum, but I wish my backyard looked like this.

Dallas Arboretum, he just made me smile!

Sweet Hub and I spent Saturday afternoon at the Dallas Arboretum.  With temps in the high 70's, it was a perfect day to walk and to be inspired by all things Fall that they had put out.  I could not help but smile at this guy.  

Yay for cooler temps, Fall, and of course, pumpkins!


Tuesday, September 17, 2013

Decorating Tip For Grouping Small Elements

BEFORE PICTURE
Here is a little trick that I love to do at work, when I am merchandising.  

As you can see above, the rooster and small artwork look cute on the kitchen table, but a little lost, on such a large space.


AFTER PICTURE
Adding a tray underneath them, groups them together and visually gives them a bigger bang for your buck.  And in this case, adds another pop of color.  


BEFORE
Wanna see it again?  Here these three pieces are cute on their on and look OK on my small dresser in my entryway...


AFTER
...but add the tray and they take on a little bit more "umph".  The eye sees them as a whole, not a grouping of three small pieces.  The tray gives them a little more importance.

And, while I love this particular tray, it does not have to be a tray.  A large platter or low box or low edged basket works well too.  


Great tray from The Dove's Nest in Waxahachie, Texas
We just got these trays in at work, and I adore the color and the shape.  I could see use this several places in my home and will be great for the holidays.  But for now, it will live in the kitchen.


Above is the finished look.

Plates:  Dollar Tree and Marshall's, Frame and Rooster Hobby Lobby, Pillows hand sewn from old tablecloths

I'm still in the process of tweaking and editing my little home.  Trying to only put out the things that I truly love.  Trying to add more color.  Above are two of my favorite pieces in the house, my pine hutch and my thrifted dining table and chairs.


I got the hutch wholesale years and years ago from a friend that had a shop here in town.  I still love it.  The table I found at an antique mall, a booth that was closing out.  Don't be a hater when I tell ya I practically stole it at $49.00.  The chairs....Estate Sale, a mere $15.00 each.


But this was not an overnight thing...the table sat in the garage for ages, until I found the chairs.  Patience is the key.  I love the pink and it adds a funky touch.  Or weirdness.  However you want to call it.  But I love those shabby pink shutters, another antique mall find.

Here is my disclaimer...I don't profess to be a great decorater, but I learned allot of things from my Mom and my Aunt (both of whom have had great eye for decor).  I can do some things easily (arranging books shelves and table top), but arranging furniture and layout I always find difficult.  But I'm always trying to learn.  

Thanks for taking a peep.


Saturday, August 31, 2013

Freshening up My Home Decor


I ran across the above pic on Pinterest several weeks ago.  Since I seem to be returning to my "cottage roots" in my home decor, I loved the overall look of it.

AFTER

AFTER

BEFORE
BEFORE:  This was the corner of my room that I wanted to add a little "pop" to.


Based on the components that were in Back Porch's pic, I gathered the home decor goods that I had that were similiar to the ones she had.  I only wanted to use what I had on hand.


The shutters came from the guest bedroom and while I liked the dark green, the neutral side seemed a little "fresher" and lighter and went along with the brighter colors in the throw and picture.


So here is my finished look!  I'm happy with the transformation.  Now this cozy corner beckons for someone to sit and enjoy a cup of coffee or to sit and read a bit.

Thanks Back Porch Musings for the "Pinspiration".


Saturday, June 29, 2013

Happy Mail


 For almost forever, I've been fascinated with Mail Art.  Such a fun thing to make the "outside" of mail, as much fun as the inside.


I hosted a Rolodex Swap for some of the Paper Cowgirls, so when I mailed each gals cards back, I decided the make the envelopes equally fun.


When I took them to the Post Office each day, the mail worker was perplexed as to just where she should put all her stickers and such.


 She did not want to cover up anything.  LOL.


Here are just a few of my rolodex cards.


This is one of my favorites...I made the little clock face spin.


This was old artwork that I copied, glued on and then just added the hand-written text.

Happy Mail...makes me smile.


Monday, June 17, 2013

Happy Art!

Art Show at Polka Dots shop, a few weeks ago.  My friend Sherri shared a booth space with me.  
We had a fun mix of vintage, hand painted and hand made fabric goods.  I love Sherri's fabric hoops.
Aren't they cute?  I know have the two on the right.  
I took a fun mix of canvases.  Everyone loves the "Happy Camper" canvas.
My friend Sandra Feazel also brought her cuteness as well.  Love her artwork!
She had a fun mix of vintage, market and her fabulous artwork.  
LOVE that moss covered manni form.

It was a great day to just sit outside and hang out with other crafty gals.  Of course, we all bought from each other, that's always the best fun at an artful gathering.  I personalized some painted canvases and just enjoyed the down time.  Hopefully we can do another show together again soon.

Wednesday, May 22, 2013

Winged Heart


I wanted to try my hand at a different style of painting, this is more "serious" than my usual cute style.  I was very pleased with the outcome of this canvas.  And I guess...still in pink and turq mode from the carton swap.  :)


Monday, May 20, 2013

Painting, painting, painting......


The past two weeks have been a rush.  Between getting the store ready for our  fashion show event and working on my friends house to get it ready for Home Tour, time has been a blur.  But I did sneak in some time to paint.  


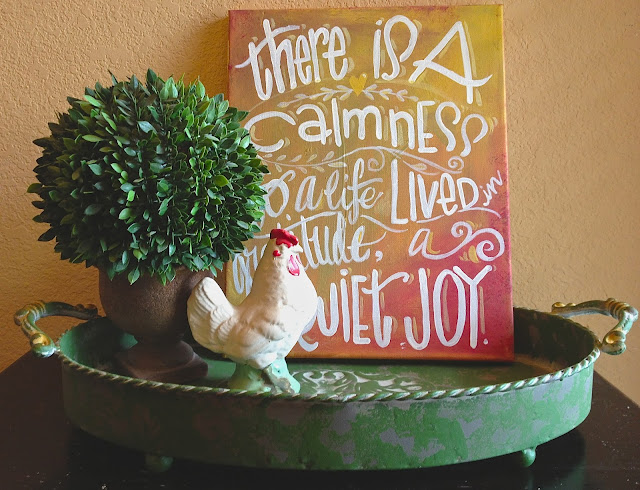
Finally finished the Mother's Day canvas (first pic) and was really happy with the way it turned out.  My Mom wrote that saying about her own Mom and its always been one of my favorites.  A sweet queen canvas with water colored edges.


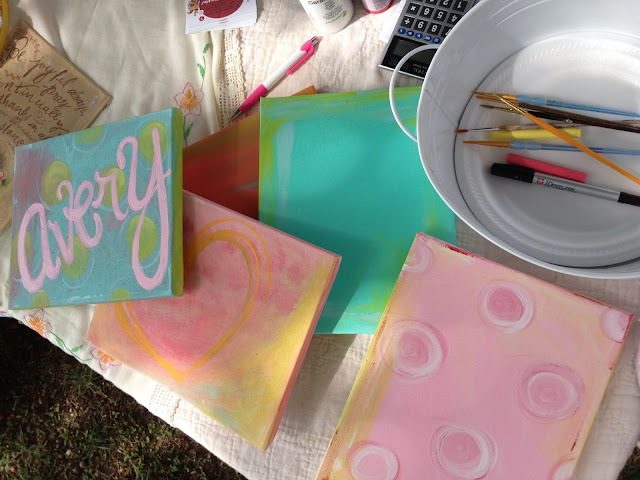
I've had some custom pieces to work on and I thought I might show you a little of how my brain works.  Now, before you go screaming for the hills at the thought of that, here is visual proof.  Of how my brain works.  Its a jumble, this desk of mine, and my brain.  But it gets sorted out.


I wanted to do a baby gift for a friend and her theme was baby mermaids and soft sea greens, turquoise and pink.  I started out with a sweet baby face... a vintage 40's feel was what I was going for and I just could not seem to get where I wanted.  


She turned into a weeble instead.  LOL.  After looking at children's art, it was all very simplistic, so that was the route I went.


She (the mermaid) turned out more toddler than baby size.  And the monogram was supposed to look like seaweed and pearls.  Sweet Hub, who is my favorite critic, did not get it, so I changed the monogram.  Especially after art friend, Sandra, suggested three letters, rather than just two.


So, what I wanted was a HUGE canvas with the saying that new mommy picked out.  And the two smaller canvases that she could put on the side.  Here is the large canvas in progress.  


And this is everything completed.  I was happy with the way it all turned out and I hope Mommy likes it as well.  


Now, I'm working on a custom piece for a bride, who wanted all the different words for "kiss" on a subway like canvas.  I added their wedding date to make it more personal.  Her colors are various shades of coral, pinks and greys.  Here is the basic layout.


Now, I'm beginning to go in and add more details, extra color, etc.


It needs a WHOLE LOT more color and detail.  So, I'm going to get back to it.  Hope your Monday is going well too.


***Edited to add:
Done!  And it looked wonderful on the dessert table.  I was very happy with the way it finished up.